Setting up Mac Mail (OS-X 10.5)
These are instructions for setting up your Mac Mail client for use with
this server.
In order to set up your incoming (IMAP) server configuration, perform
the following steps:
-
If this is the first time you've run Mac Mail, you will be taken through
the setup wizard. It starts out with your real name, your email address,
and your email password. Finally click continue:

-
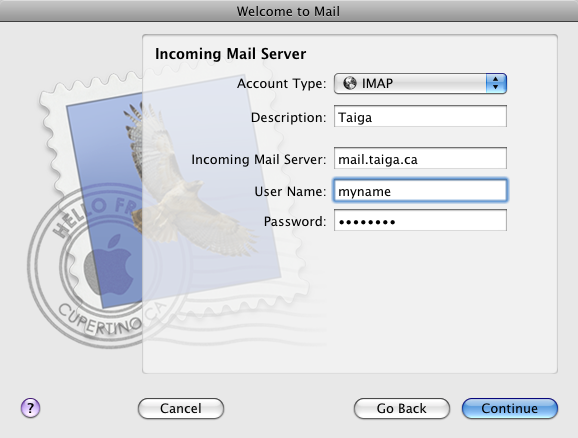
On the next screen, select IMAP as the account
type. Add a description, and enter the server hostname, your login name,
and email password (the password may already be filled out from the
previous screen). Click continue:
-
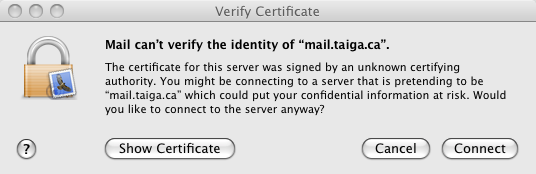
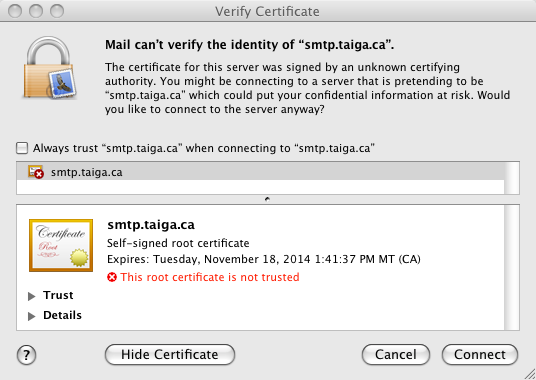
Since the server uses a self-signed SSL certificate,
you will have to explicitly accept it. Click on Show Certificate:
-
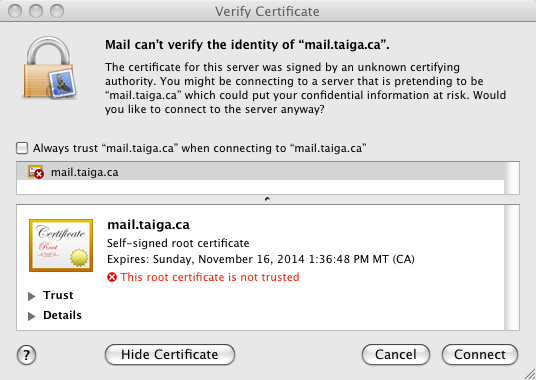
You should now see that it is a self-signed certificate:
-
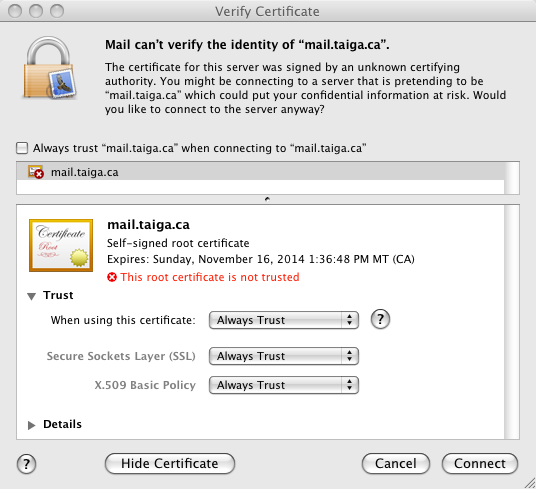
Click on the Trust item to expand it and see the details:
-
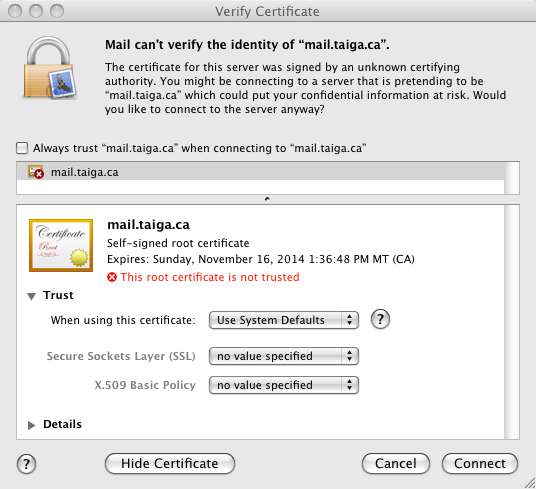
To the right of When using this certificate, select
Always Trust. The other two options should automatically change
to match. Click Connect:
You will now be taken to the next section to set up your outbound
mail server.
In order to set up your outgoing (SMTP) server configuration, perform
the following steps.
(We assume that you got here after setting up the incoming server
as described above.)
-
Enter the server description and hostname. Don't click on
Use Authentication just yet. Click Continue:

-
Since the server uses a self-signed SSL certificate,
you will have to explicitly accept it. Click on Show Certificate:

-
You should now see that it is a self-signed certificate:
-
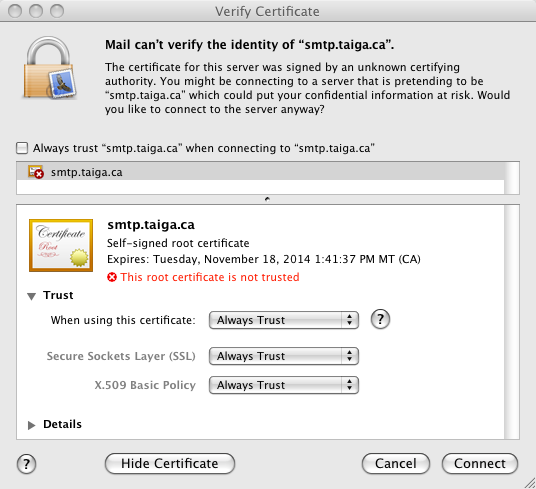
Click on the Trust item to expand it and see the details:

-
To the right of When using this certificate, select
Always Trust. The other two options should automatically change
to match. Click Connect:
-
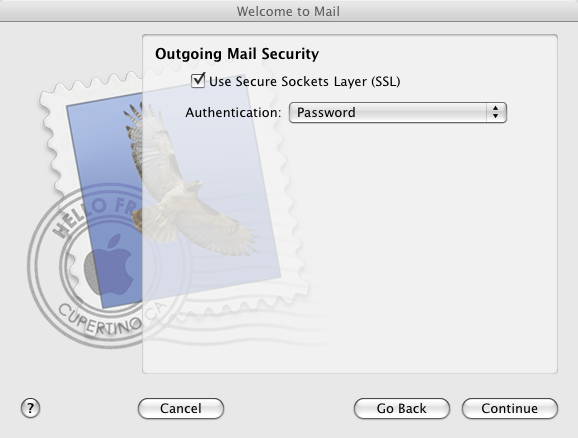
You should now see the security options:

-
Select the Use Secure Sockets Layer (SSL) checkbox,
and select Password as the authentication method.
Click Continue:
-
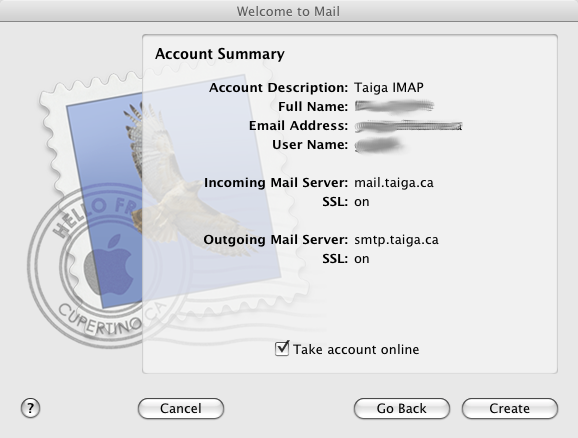
You should now see the account summary. Click Continue:
Your account should now be set up and usuable.